
The aroma of bubbling marinara sauce mingling with golden, crispy chicken and melted mozzarella takes me back to my grandmother’s kitchen every single time. I still remember the first time I attempted to recreate her legendary chicken parmesan after moving into my first apartment – the breading fell off, the cheese burned, and let’s just say my roommates weren’t lining up for seconds. That failure sparked a three-year quest in my kitchen, testing dozens of variations until I cracked the code for what I now call my Easy Chicken Parmesan.
This isn’t just another chicken parmesan recipe. After making this dish over 200 times for family dinners, potlucks, and those desperate Wednesday nights when takeout feels inevitable, I’ve discovered the secrets that make restaurant-quality chicken parmesan achievable in under 30 minutes. The magic lies in the technique – using panko breadcrumbs for ultra-crispiness, the perfect cheese-to-sauce ratio that prevents sogginess, and a foolproof method that keeps the chicken juicy while achieving that coveted golden crust.
**Why This Recipe Works**
• **The Double-Dredge Method Creates Armor**: I coat each chicken breast in flour, then egg, then a mixture of panko and parmesan cheese. This triple-layer coating forms a protective shell that stays crispy even under sauce and cheese.
• **The Hot-THEN-Hot Technique**: Starting the chicken in screaming-hot oil (400°F) for just 90 seconds per side sets the crust, then finishing in a 425°F oven ensures the inside cooks through without drying out.
• **Strategic Cheese Placement**: Adding half the mozzarella directly on the chicken, then sauce, then the remaining cheese creates a moisture barrier that prevents the dreaded soggy bottom.
• **The Umami Bomb Sauce**: Mixing a tablespoon of the seasoned flour into the marinara creates a velvety sauce that clings to every crevice of the crispy chicken.
## Ingredients Notes & Substitutions
After years of testing, I’ve learned that each ingredient plays a crucial role in achieving the perfect balance of flavors and textures. Here’s what I’ve discovered about the key players in this dish:
**Chicken**: I prefer thin-sliced chicken breasts (about ½-inch thick) because they cook quickly and evenly. If you can only find thick breasts, slice them horizontally yourself – this ensures every bite has the ideal ratio of crispy coating to tender meat.
**Panko vs. Regular Breadcrumbs**: This is non-negotiable. Panko’s larger, flakier texture creates those irresistible crispy edges that stay crunchy. Regular breadcrumbs make a dense, heavy coating that tastes like cafeteria chicken.
**Cheese Blend**: The combination of fresh mozzarella for meltability and aged mozzarella for flavor creates the perfect cheese pull. Skip the pre-shredded stuff – it’s coated with cellulose that prevents smooth melting.
**Tomato Sauce**: Use a good-quality marinara, but doctor it up. I simmer mine with a parmesan rind, a splash of red wine, and fresh basil to elevate store-bought sauce into something that tastes like it’s been simmering all day.
### Ingredient Comparison Guide
| Ingredient | Best Choice | Acceptable Substitute | Avoid At All Costs |
|————|————-|———————-|——————-|
| Breadcrumbs | Panko (Japanese style) | Italian-seasoned panko | Regular fine breadcrumbs |
| Cheese | Fresh mozzarella + aged | Whole milk mozzarella | Part-skim or pre-shredded |
| Chicken | Thin-sliced breasts | Butterflied thick breasts | Chicken tenders (too dry) |
| Oil | Light olive oil | Vegetable oil | Extra virgin olive oil (burns) |
| Herbs | Fresh basil + oregano | Dried Italian seasoning | Dried parsley only |
## Step-by-Step Instructions
I’ve streamlined this process after making it countless times, timing each step to ensure everything comes together perfectly. Here’s exactly how to achieve restaurant-quality results at home:
1. **Prep Station Setup** (5 minutes): Arrange three shallow dishes – flour seasoned with salt, pepper, and garlic powder; beaten eggs with a splash of water; panko mixed with grated parmesan, Italian seasoning, and a pinch of red pepper flakes for subtle heat.
2. **The Perfect Pound** (3 minutes): Place chicken between plastic wrap and gently pound to even ½-inch thickness using the flat side of a meat mallet. This ensures uniform cooking and maximizes surface area for crispy coating.
3. **The Triple-Dredge** (8 minutes): Press each chicken breast into the flour, shaking off excess. Dip in egg wash, allowing excess to drip off. Press firmly into panko mixture, ensuring every inch is coated. Let rest on a wire rack for 5 minutes – this crucial step helps the coating adhere during cooking.
4. **Heat the Oil** (2 minutes): Pour oil into a heavy skillet until it reaches ¼-inch depth. Heat over medium-high until it shimmers and a breadcrumb dropped in sizzles immediately (about 375°F).
5. **The Crispy Sear** (3 minutes): Cook chicken 90-120 seconds per side until golden. Don’t overcrowd the pan – work in batches if necessary. The coating should sound crisp when tapped with tongs.
6. **Oven Transfer** (12-15 minutes): Transfer chicken to a wire rack set over a baking sheet. Top each piece with 2 tablespoons sauce, spreading to edges. Add half the mozzarella, then remaining sauce, then remaining cheese. Bake at 425°F until cheese is melted and chicken reaches 165°F internal temperature.
7. **The Final Touch**: Switch to broil for 2-3 minutes to achieve those beautiful brown spots on the cheese. Watch closely – it goes from perfect to burned in seconds.
## Common Mistakes to Avoid
Through my years of trial and error (and many rubbery, soggy failures), I’ve identified the most common pitfalls that can ruin your chicken parmesan:
**The Soggy Bottom Disaster**: This happens when sauce touches the pan directly. Always place chicken on a wire rack before adding sauce. The elevation allows air to circulate, keeping the bottom crispy.
**The Cheese Slip**: Adding all the cheese at once causes it to slide off during serving. Layer half underneath the sauce, half on top – this creates a cheese blanket that stays put.
**The Overcooked Nightmare**: Chicken continues cooking after you remove it from the oven. Take it out when the internal temperature hits 160°F; it will rise to the safe 165°F while resting.
**The Burnt Garlic Catastrophe**: Fresh garlic burns at 350°F. Use garlic powder in the coating and add fresh garlic to the sauce instead.
**The Oil Temperature Trap**: Oil that’s not hot enough = greasy chicken. Too hot = burnt outside, raw inside. Maintain 375°F throughout cooking by adjusting heat as needed.
## Serving Suggestions & Pairings
This chicken parmesan shines as the star of your dinner table, but the right accompaniments elevate it from good to unforgettable. After serving this to hundreds of guests at family gatherings, here are the combinations that never fail:
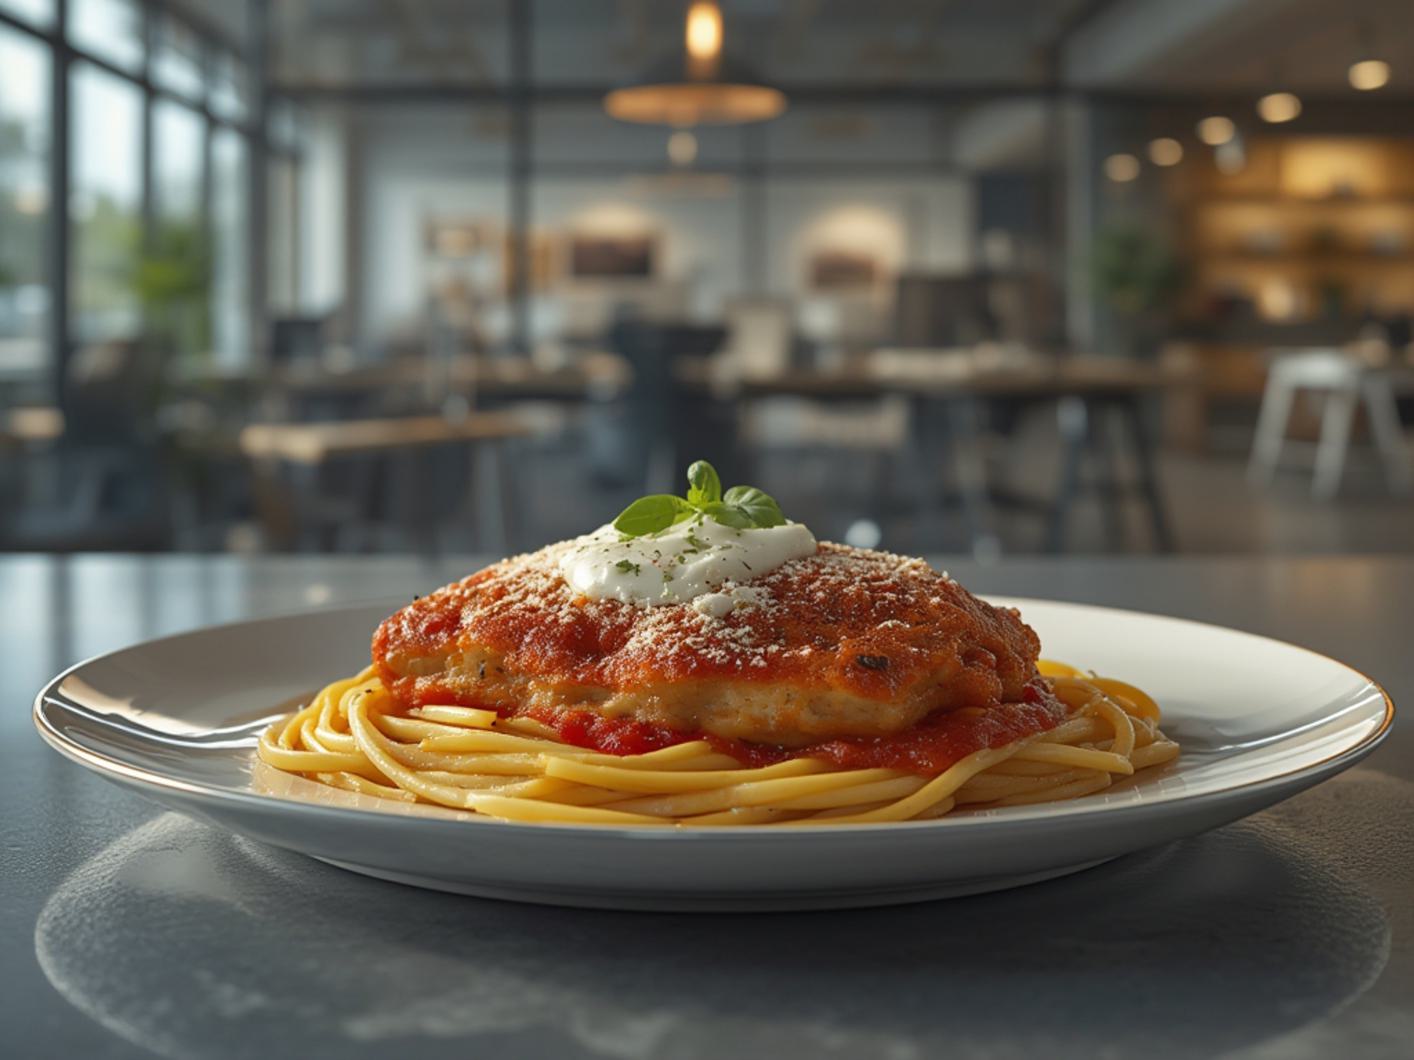
**Classic Comfort**: Serve over a bed of al dente spaghetti tossed with olive oil, garlic, and fresh parsley. The pasta catches every drop of that incredible sauce.
**Low-Carb Luxury**: Skip the pasta and serve alongside roasted garlic-parmesan zucchini noodles. The crispy chicken provides the perfect textural contrast.
**Game-Changing Side**: My family goes wild when I serve this with crispy garlic bread made from a baguette slathered with herbed butter and toasted until golden. It’s perfect for mopping up extra sauce.
**Wine Pairing**: A medium-bodied Chianti complements the acidity of the tomato sauce without overwhelming the delicate chicken. For white wine lovers, a crisp Pinot Grigio works beautifully.
**Fresh Finish**: A simple arugula salad dressed with lemon vinaigrette cuts through the richness and cleanses the palate between bites.
For more inspiration, check out my collection of italian dinner recipes that pair perfectly with this dish.
## Storage & Reheating
One of the best things about this recipe is how well it reheats – if you know the tricks. After years of meal-prepping for my family, I’ve perfected the art of keeping chicken parmesan crispy even days later.
**Refrigeration**: Store cooled chicken parmesan in an airtight container with paper towels between pieces to absorb moisture. It keeps for up to 4 days, though the coating will gradually lose its crunch.
**The Oven Method** (Best Results): Preheat oven to 400°F. Place chicken on a wire rack over a baking sheet and heat for 8-10 minutes until warmed through. This re-crisps the coating while keeping the inside moist.
**The Air Fryer Method** (Quick Fix): Heat at 375°F for 3-4 minutes. The circulating air revives the crispy texture beautifully.
**The Skillet Method** (Emergency): Heat a dry skillet over medium heat. Place chicken in the pan, cover with a lid, and heat 2-3 minutes per side. The trapped steam warms the inside while the direct heat re-crispers the bottom.
**Freezing**: Freeze individual portions on a baking sheet, then transfer to freezer bags. They’ll keep for 3 months. Reheat from frozen at 400°F for 20-25 minutes.
**Never Microwave**: The microwave turns the crispy coating into a soggy, rubbery mess. If you must use it, heat for just 30 seconds to take the chill off, then finish in a hot skillet.
## FAQs
**Q: Can I make this ahead for a dinner party?**
A: Absolutely! Bread the chicken up to 24 hours ahead and refrigerate on a wire rack. The coating actually adheres better after resting. Cook just before serving for maximum crispiness.
**Q: My coating always falls off. What am I doing wrong?**
A: Three common causes: oil not hot enough, chicken too wet, or not letting the breaded chicken rest. Make sure your oil is at 375°F, pat chicken completely dry, and let it sit for 5 minutes after breading.
**Q: Is there a healthier version?**
A: For a lighter version, I bake the breaded chicken at 425°F for 15-20 minutes, flipping halfway through. It’s not quite as crispy, but saves about 150 calories per serving. Use part-skim mozzarella and whole wheat panko for extra nutrition.
**Q: Can I use chicken thighs instead of breasts?**
A: Yes! Boneless, skinless thighs work beautifully and stay juicier than breasts. Pound them to even thickness and add 2-3 minutes to the cooking time. The richer flavor is incredible.
**Q: What if I don’t have panko breadcrumbs?**
A: Make your own by pulsing day-old bread in a food processor until coarse crumbs form. Toast in a dry pan until golden and crispy. It’s not quite the same as panko, but much better than fine breadcrumbs.
## Conclusion
This easy chicken parmesan has become my go-to recipe for everything from casual weeknight dinners to impressive date nights at home. The combination of crispy, golden chicken, melty cheese, and rich tomato sauce never fails to bring smiles to the table. Once you master these techniques, you’ll find yourself making this dish again and again – it’s that good. Give it a try tonight, and don’t be surprised when even the pickiest eaters ask for seconds. The best part? You’ll have dinner on the table in 30 minutes, leaving you more time to enjoy with family instead of slaving over a hot stove.